
Getting started with GeekBye
Install GeekBye, sign in, grant the permissions it needs, and run a calm first session before a real call.
Screenshots and demos may show an earlier version. Follow the written steps and your current app settings.
From download to your first live session in about five minutes. Do this once before an interview, not during one.
Install the app
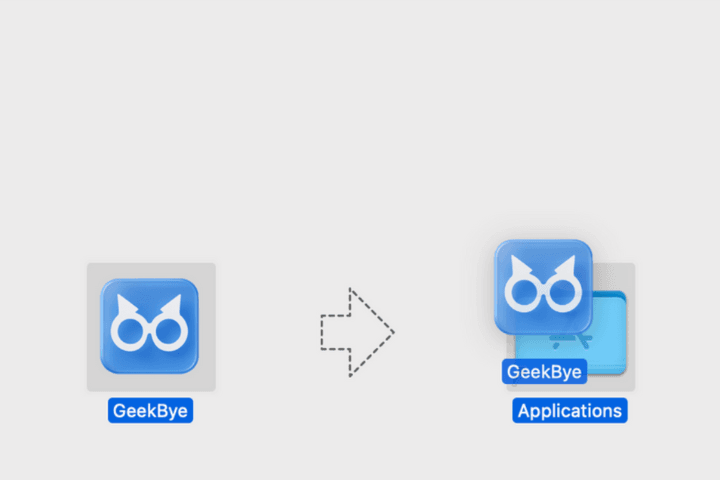
Download GeekBye for your platform. On macOS, drag it into Applications before opening it; on Windows, run the installer.
Sign in
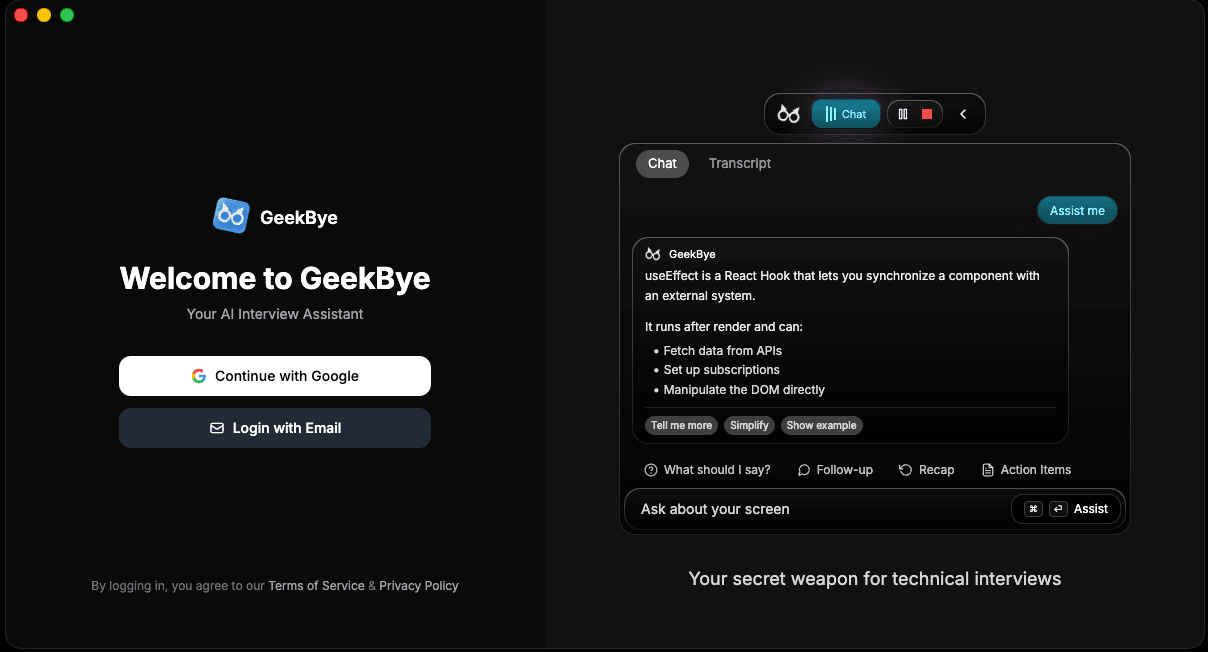
Launch GeekBye and sign in with Google or email. Your system browser completes sign-in and returns to the app through the GeekBye callback.
Grant permissions
Approve permissions before your first session so nothing interrupts a call.
- Screen Recording lets GeekBye read screen context when you use the screenshot shortcut.
- Microphone lets Listen capture your selected input for live transcription.
Check invisibility
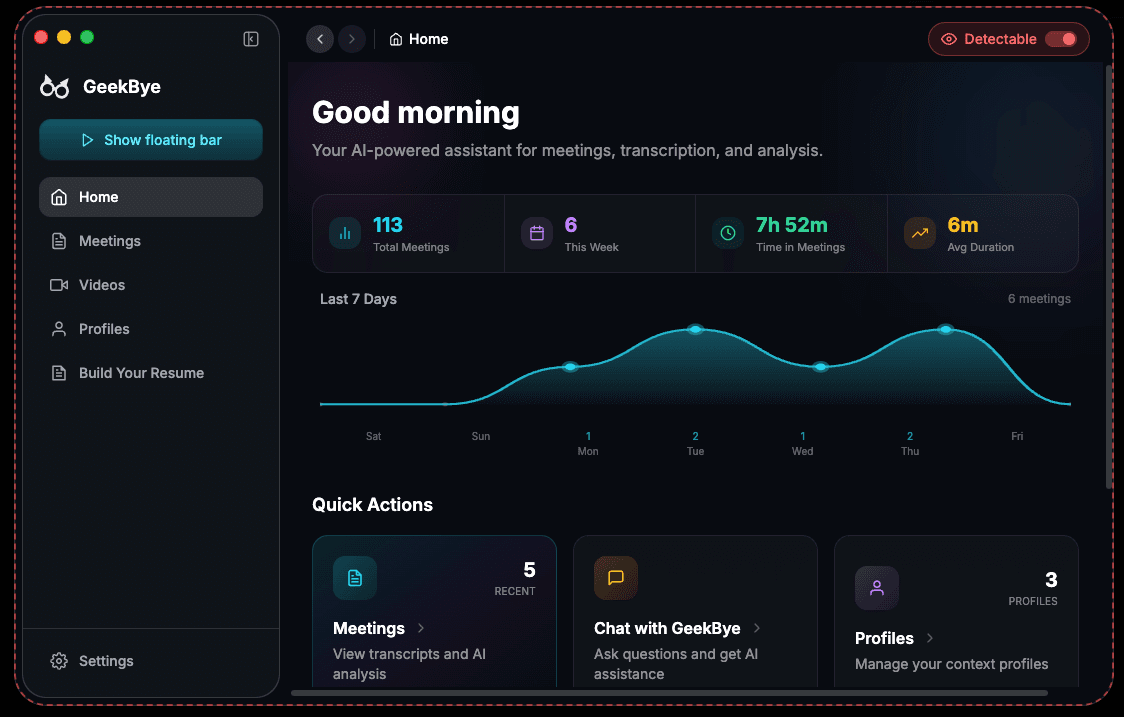
Run a test meeting, share your screen, and check the preview. If needed, use the Detectable control in the main window to verify the mode you are testing.
Run your first session
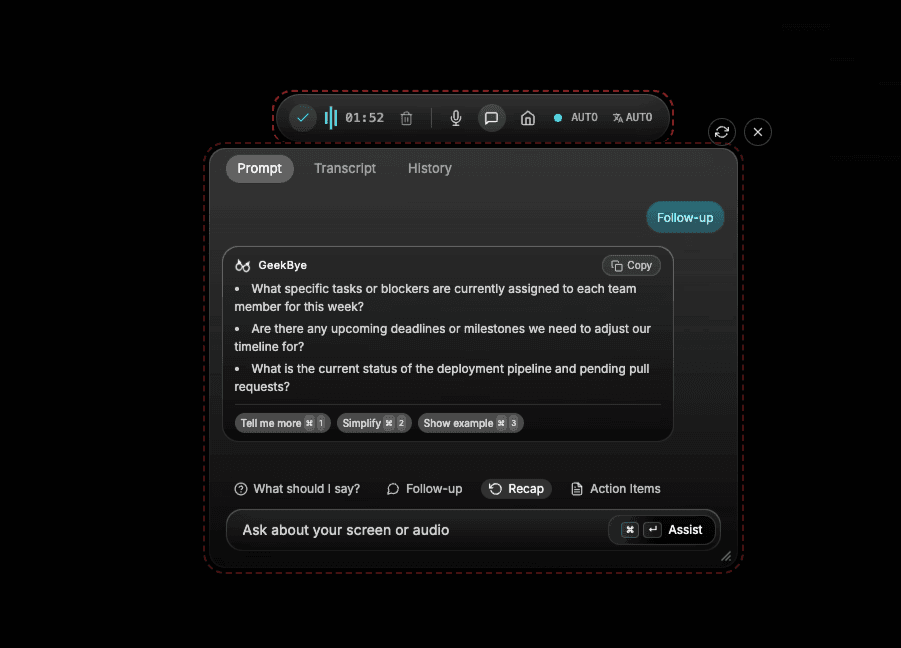
Open a practice question, capture its screen context, then use Ask for a follow-up. Start Listen when you need live transcription.
Learn six shortcuts
Practise these once so they feel familiar when you need them.
- Open Ask if needed and submit Assist with fresh screen context. Opening a closed Ask panel also starts or stops the recording session; when Ask is already open, Assist submits without stopping an active session.
- ⌘/Ctrl+Enter
- Hide or show GeekBye
- ⌘/Ctrl+B
- Queue screen context for a later message
- ⌘/Ctrl+Y
- Start or stop the recording session
- ⌘/Ctrl+Shift+\
- Open or close Dashboard
- ⌘/Ctrl+D
- Show or hide the shortcut overlay
- ⌘/Ctrl+/
Before your first real interview
- Do a full dry run on a test call, including screen sharing.
- Place the overlay close to the area you already look at.
- Use a reliable network for live transcription.
- Use the headset and microphone you plan to use for the call.
Troubleshooting
GeekBye appears in my screen share. What should I check?
Run a test share and review the Detectable control in the main window. If you just granted Screen Recording on macOS, quit and reopen GeekBye. On Zoom, use Zoom 6.1.6 or earlier, or turn on Advanced capture with window filtering in Zoom's screen-sharing settings.
Listen is not transcribing anything.
Check microphone permission, the selected input device, and your network connection.
The screenshot shortcut does nothing.
On macOS, verify Screen Recording permission and restart GeekBye. If another app owns the shortcut, choose a different preset in Settings.
Do I need to repeat setup before every interview?
No. Before a call, open GeekBye, make a quick audio check, and use the same dry-run setup that worked for you.